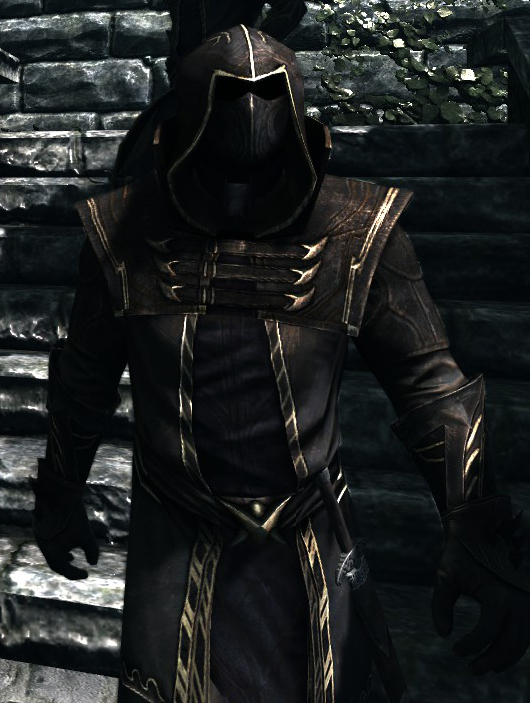
Thalmor belt buckle and accessories
so im kind of working in a flurry to get all the costuming done before dragoncon. mostly constructing my husband’s khajiit in Novice Robes of Destruction but also remaking/finishing the details of my Thalmor robes from last year that were not made to satisfaction due to lack of time. this year im also working with the wonderflex we purchased last year for costume armor. in the images from the game the buckles on the chestpiece and belt appear metal. i originally made them out of sculpy clay which once again was a disaster. i couldnt get a consistent shape and the pieces broke easily. they survived well enough for the con but since im entering the costume contest this year, they would definitely not do.

for using the wonderflex i primarily referenced the tutorials made by the super awesome cosplayer – Kamui. http://www.kamuicosplay.com/tutorials – in short, cut the pieces out, heat them, sandwich them around craft foam, shape them, allow to harden, prime with 2 coats of wood glue, paint. tada!
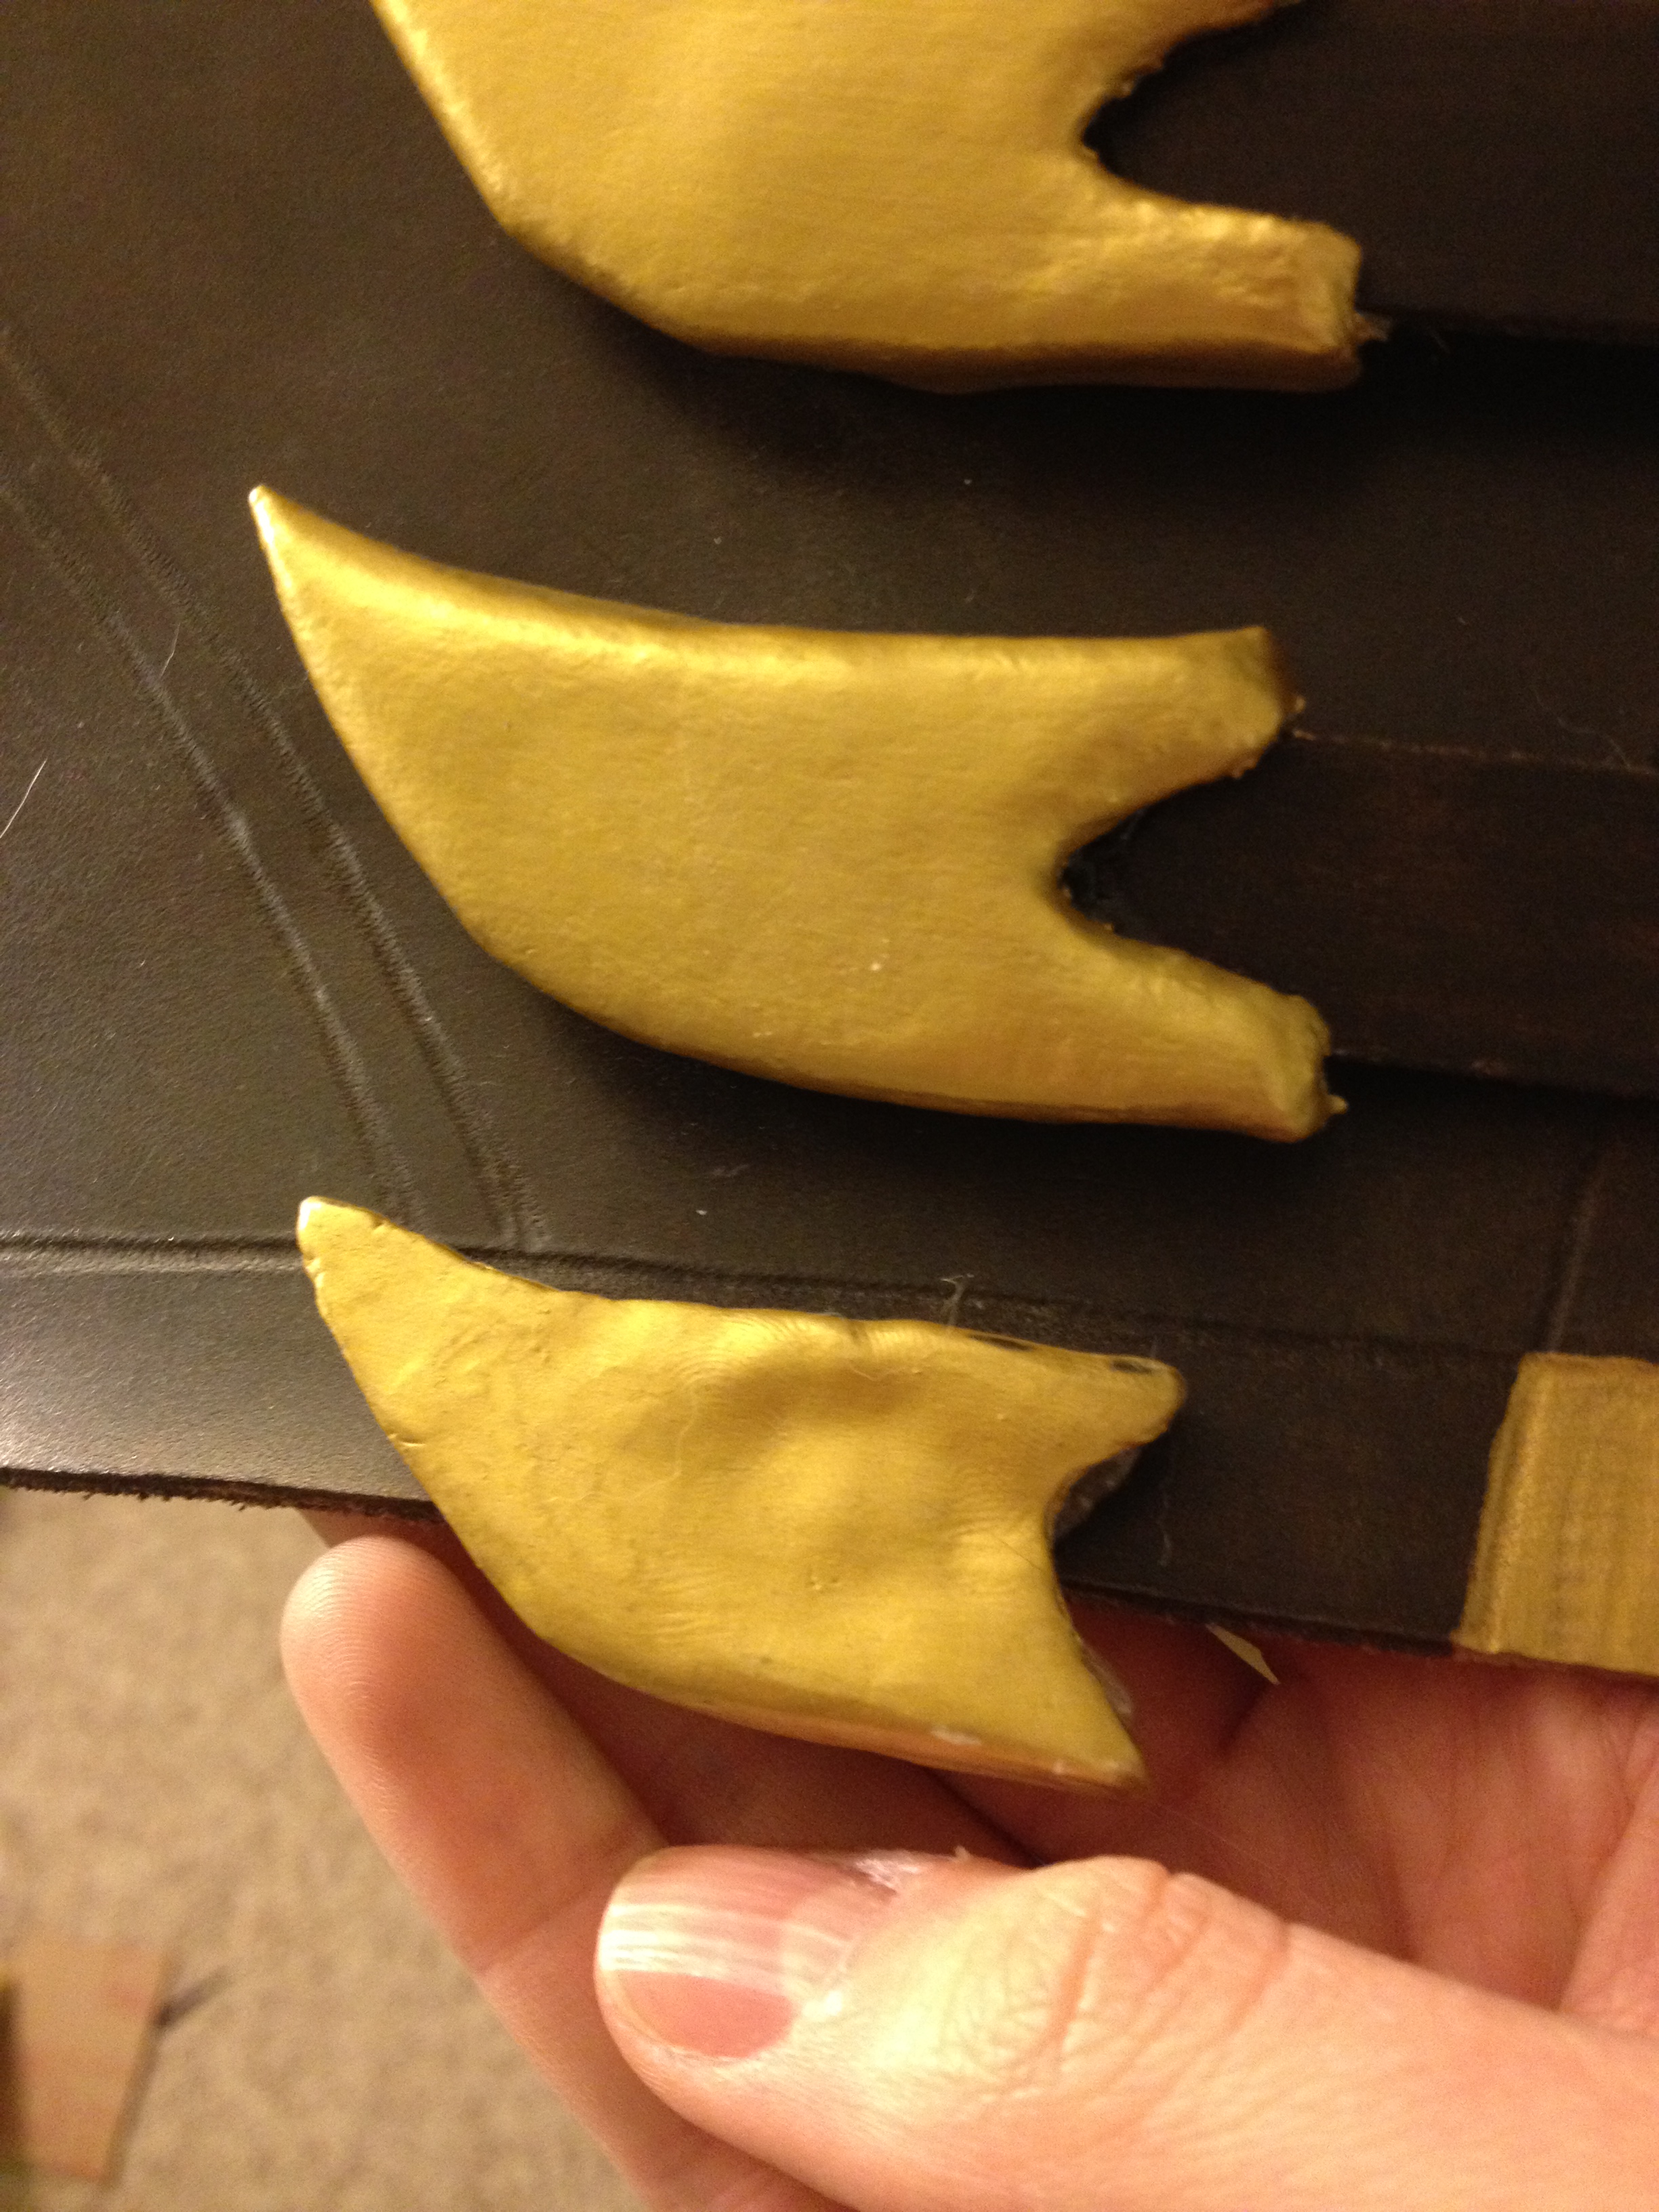 so i tried to cut my pieces in a consistent shape, used craft foam for stability as she does, and shaped them around the existing straps. once dried and hardened i attached them to the straps with epoxy to make sure it stuck well enough to survive me yanking open and closed the heavy duty leather snaps. in retrospect i should have primed with the wood glue and painted before this part, but i didnt. so i tried to tape the best i could and was mostly successful not getting gold paint all over my leather straps that were dyed with stain that i no longer had (remember to tighten the lids!) looking at the images from the game, i suppose they should have had more of a curve to them but im generally happy with what i made.
next was the belt buckle. it was more complicated being fairly 3 dimensional and vaguely star shaped with some recessed pieces and so on. so i made a basic framework with the foam glued in layers and then shaped the wonderflex over it. it wasnt very defined originally and there were some gaps so i added a second layer over the center area in 3 pieces to really define the lines and i liked it. add glue and paint and snaps to attach it to the belt and DONE.

as you can see comparing the old buckle to the new, BIG improvement.


on making a tail – 2
yeah im a procrastinator. now returning to construction on my Khadjiit costume for DragonCon.
so i started working on the foam tail method as shown at http://www.youtube.com/watch?v=XgOCVyBgjaA and http://www.youtube.com/watch?v=5kCpe2DlFxQ&feature=related.
first i cut a $1 pool noodle into 2-3″ lengths, numbering and making a line at the top to keep it straight where they connected. then you cut wedges out of the top, bottom, or sides to give it the shape you want like the classic kitty tail S-curve.


Then i poked a pen through the top and ran a straw through it. then i connected the hole thing with an elastic cord through the top and a rope through the middle. i stabilized the top and bottom or sides, depending on how i wanted it to move in a given area with hot glue.

Unfortunately when i wrapped the fur around the foam skeleton it just seemed way too thick for what i was looking for. if i were wearing a fur suit it would work but for a thin cat tail its not what im looking for. back to the drawing board…
DragonCon cosplay phase 1(ish)
finally getting going on my DragonCon projects. this weekend and last i made my foundation tunic for the Thalmor robes, worked on the belt buckle, and started working on the blaster for my Star Wars The Old Republic cosplay of Vette.


the undertunic for the Thalmor robes was pretty straightforward, a simple sleeveless tunic that came to a point in front with a mandarin-style collar and some subtle details on the bottom. the only visible part will be the front centermost part. i made up my own pattern and cut it out of some leftover black linen i had on hand.
here is the early stages. i am also displaying the khadjiit ears that will be. very catlike.
 unfortunately i cut the neck too wide so the collar took a lot of adjusting to get it to look right-enough to pass the “10 foot rule.” the armholes initially had to have a gore added and then they were huge. adjust and readjust. eventually it looked good enough that if i end up taking off the overrobe in public i wont be embarassed about whats underneath.
i added the subtle design on the bottom with the same wide/tight stitch i used to finish the open seams of my dance bra and was very pleased with the effect. i knew i didnt want to use ribbon or god forbid hand make a ton of trim to sew on. unfortunately in the pictures the chalk lines i used to draw out the pattern show up but you can pretty much see what it looked like.


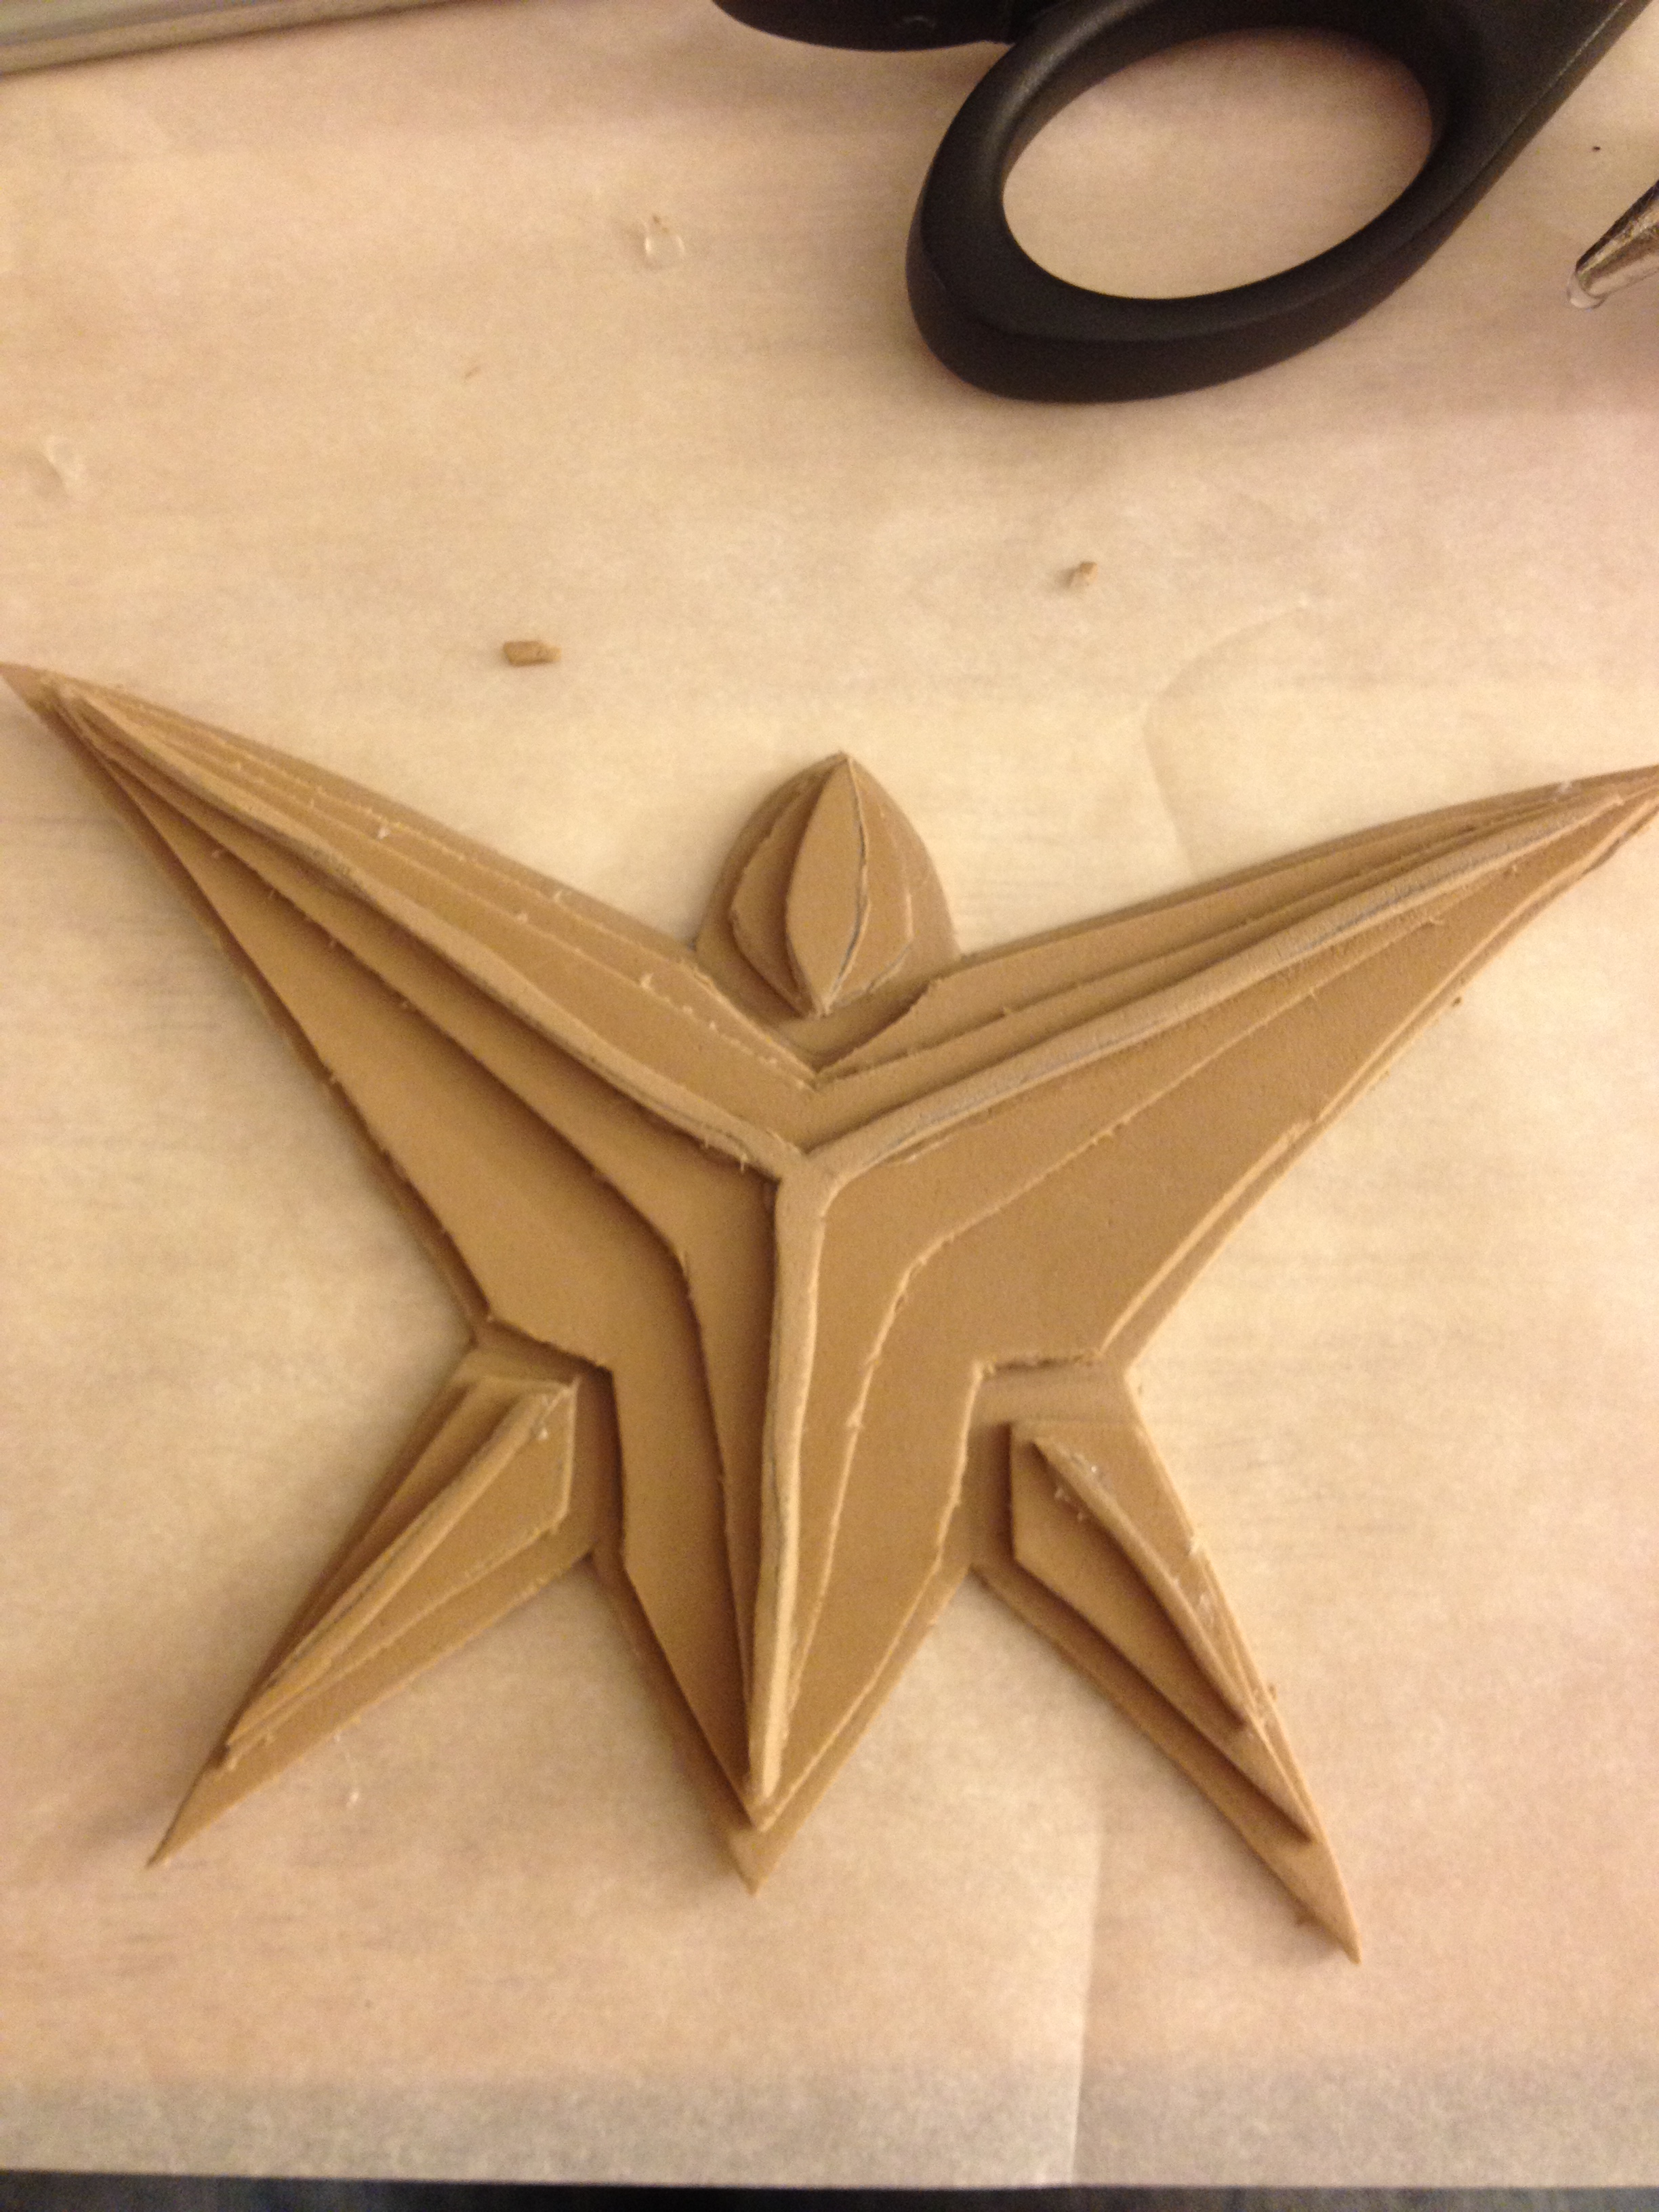
next i started working on the belt buckle. my plan was to make the basic 3-D shape out of cardboard hot-glued together then cover that with Great Stuff expandable foam, carve it, and paint it. this material and technique is borrowed from professional cosplayer extraordinaire, Kamui (http://www.kamuicosplay.com/).


in the 3rd picture the belt buckle is the blob in the lower right. the blob on the left will hopefully become one of my blasters for Vette. i had this paint/sealant stuff from a while back that is supposed to make styrofoam nice and smooth so i wanted to try it on the great stuff foam. thus far im not liking it and will probably go forward with the taping and paper mache technique Kamui uses. so much for short cuts.
for the blaster my hope is to end up with something like this
 sorry, forgot to take pics of my cardboard build. we shall see how it goes. my carving skills are not very good as you can see from the belt buckle. also i hope to put a couple LEDs in it too but i wonder where does one put the switch and battery on/in something like this.
alongside my efforts, kenneth is experimenting with making his lightsaber hilt in the same way. currently it looks like this
 it takes a long time for this foam stuff to harden and then it is very messy to carve. the framework of the cardboard helps cuz freehanding is ridiculous.
thats all for now. next weekend i hope to dye my canvas so i can get started on the overrobes and skirt of the Thalmor set. in the meantime i think we are going to focus on making our props. also considering ordering some Wonderflex to make armor for Kenneth’s sith and maybe a few other things.
